The Step-by-Step Guide for Perfecting Your Self-Tanning Technique
Mar 03, 2024 By Nancy Miller
Are you tired of struggling with tanning lotions that leave you looking streaky or orange? Say goodbye to those worries! It's time to learn the tricks of self-tanning. Whether you're getting ready for a big day, a vacation, or just want to feel fabulous, knowing how to apply self-tanner properly is key.
But don't worry, we've got your back! With our easy tips and simple techniques, you'll be glowing like a pro in no time.
How to Get Flawless Results with Self-Tanning?
Here, we have gathered some of the basic instructions that will help you apply self-tanner with a bronzed and streak-free finish:
Select Your Self-Tanner Type
Take your skin type and preferences into consideration while selecting a self-tanner. Formulas for gradual self-tanning are excellent for developing a soft, gradual tan over time. They include things like erythrulose and DHA, which mix with the amino acids in your skin to progressively darken it.
On the other hand, instant tanning formulations give instant results but can be more difficult to apply and result in streaks. Whenever possible, use a face-specific self-tanner if you have oily or sensitive skin. For fair complexion, go for a lighter hue; for olive skin, go for a darker formula. Reapplying is always an option if you want a darker tan.
Trim Thick Hair
Thick hair needs to be removed from the areas you wish to tan before using self-tanner. The ultimate effect of your tan may be impacted by thick hair, which can also hinder the tanner's even application. To guarantee a smooth application, think about shaving or waxing your arms and legs.
Unless you would rather have it removed, you can skip this step if you have fine hair on your arms or legs. Before using self-tanner, men may also need to shave or wax their backs or chests.
Exfoliation
Achieving a nice and even tan requires exfoliating your skin prior to using self-tanner. Exfoliation helps get rid of dry, flaky spots on your skin, no matter what kind you have, which makes it simpler to tan evenly. Exfoliating helps to ensure that the tan grows on a new layer of skin, which will result in a more natural-looking and long-lasting tan.
This is because the chemicals in self-tanner react with the amino acids in the outmost layers of your skin. Since they tend to darken more quickly and unevenly, pay particular attention to rough places like your elbows and knees. To ensure that the color develops evenly and to give your skin time to neutralize its pH, try to exfoliate at least eight hours before using the tanner.

Apply a generous layer of exfoliating gel, scrub brush, or washcloth to any region that you intend to tan. To guarantee a clean basis for your new tan application, think about utilizing a tan remover solution if you need to get rid of existing tan deposits.
Moisturize Your Skin
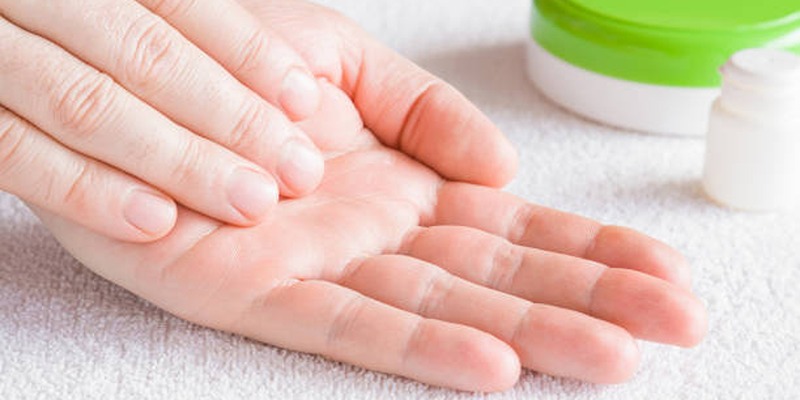
It's important to moisturize your skin after exfoliating, especially if it tends to be dry. Pay particular attention to regions such as the elbows and knees where patches of self-tanner might accumulate. After taking a shower, seal in moisture with a lotion or oil and let it seep completely into your skin over the course of an hour or two before using self-tanner.
This enables a smooth application and helps keep the tanner from sticking to dry areas. Apply moisturizer to your hands, feet, elbows, and knees, being especially careful around your ankles, knuckles, and wrinkles. Choose a moisturizer without oil instead of one with oil since oil-based lotions might break down your tan and interfere with the result you want.
Apply Self-Tanning Mitt
Applying self-tanner should always be done using a tanning mitt for a uniform and streak-free tan. For optimal results, start with your legs and work your way up. To guarantee a uniform finish when using tanning foams and gels, pump the tanning products onto the mitt and sweep it over your skin in circular motions.
When applying tanning mists, spray the product onto your body and use a tanning mitt to blend it in for a bronze that looks natural. Do not worry if you are hesitant to tan regions that are more difficult to reach, such as your face, hands, feet, and back. To prevent your palms from becoming orange, use latex gloves or a tanning mitt.
To get rid of any self-tanner that may have gotten on your hands, wash them with soapy water if you don't have gloves or a mitt. Place an old sheet or plastic tarp down and step on it while you apply the self-tanner to preserve the surfaces in your bathroom. This will lessen the likelihood of stains on linens and other things.
Use Extra Tanning Lotion on Exposed Areas
There's no reason to freak out if, after using the self-tanner, you see any bare spots. With a little extra tanning lotion, you can quickly fix them. To safeguard your hands, start by donning a brand-new pair of latex gloves. Next, lightly apply the tanner to the exposed areas by rubbing a dime-sized amount of it in your palm.
Ensure that it is blended seamlessly by blending it around the edges. During this second treatment, it's crucial to avoid using too much tanner. To avoid uneven results, just wipe off any excess that you may have mistakenly applied with a tissue immediately away.

The Bottom Line!
Self-tanning can help you achieve a bronzed, glowing complexion without the chances associated with sun exposure. From the comfort of your own home, you may achieve a natural-looking tan by following the simple instructions provided in this article.
To get the best effects, you must carefully prepare your skin, choose the right self-tanner, and then apply it. You can have a year-round sun-kissed glow with a little perseverance and effort.

At-Home LED Light Therapy: Is This Skincare Revolution Right for Your Face?

Motivational Shifts in Recovery: Key Strategies for Long-Term Success

Coffee's Health Advantages - A Global Beverage Phenomenon

Effective Home Remedies for Ingrown Toenails

Elevate Your Leg Day: Effective Hamstring Exercises You Might Be Missing

How To Get The Most Protection From Your Sunscreen

Managing Acne-Prone Skin: Causes and Care Tips


